Shrink Your Lawn
JUMP TO A TOPIC: Which Area to Shrink First | Blocking Your Lawn | Baking Your Lawn
GET STARTED GUIDES: Get Started | Shrink Your Lawn | Remove Invasive Plants | Make a Home for Wildlife | Design a Native Landscape

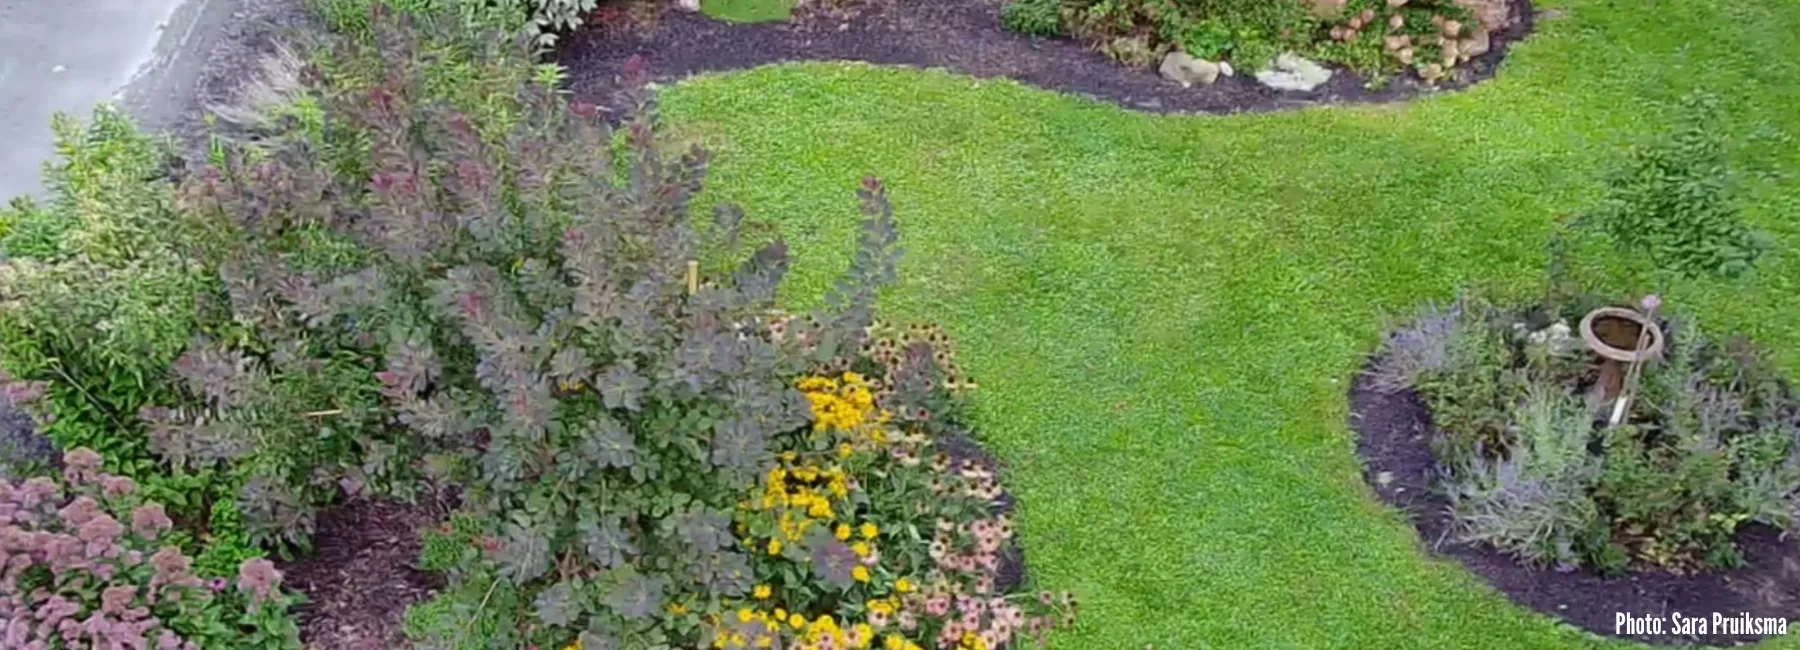
Limiting grass to useful places such as pathways frees up space to plant ecologically beneficial plants.
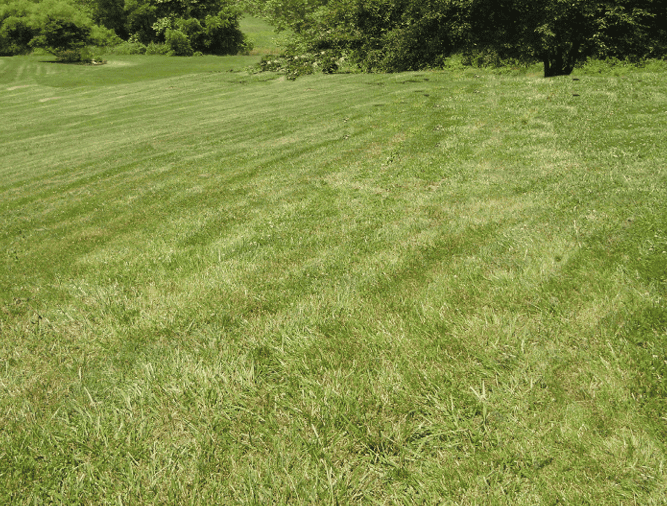
Lawns demand significant resources, negatively affect the environment, and do little (and often nothing) to support wildlife. Our goal here is to limit lawn to the areas where it is truly needed. In this article, we look at how to choose which areas of lawn to keep and which to remove. Then, we look at nontoxic methods for removing lawn. We consider the pros and cons for each method, list the materials needed, and provide a step-by-step how-to guide.
For areas of your landscape where you would like to preserve the visual effect of lawn but increase its ecological services, there are alternatives. Although few of these alternatives tolerate the typical traffic of a turf lawn, replacing lawn with native grasses and sedges (Carex spp.), pollinator-friendly bee lawns, mosses, meadows, and prairie gardens are good options. When thinking about what to do with areas where lawn is removed, remember that the best replacement for lawn is a landscape filled from ground to sky with keystone plants.

The only good thing about endless lawn is the endless potential it holds for becoming wildlife habitat!
Decide Which Area(s) of Your Lawn to Shrink First
You may know exactly which area of your lawn to remove first, but if you’re unsure, consider the following factors. It makes sense to start by removing lawn in areas that are:

In the middle of the lawn and could become an island bed (above) to serve as a refuge for small creatures fleeing for safety during mowing.

Time-consuming to mow such as around individual trees. A kidney-shaped bed planted with natives would be much easier to mow around than these three solo trees!

Growing poorly and looking crummy anyway. Many native plant species thrive in poor soil like this.

Under trees where soft landings are needed to encourage caterpillar pupation. Plus, not mowing is better for the trees.
Other areas to consider removing lawn from first include areas that are:
- Hidden from Public View—Consider starting with places on your property where transitioning to wildlife-friendly plantings is easier such as areas hidden from public view that can sport a wilder look.
- Dangerous to Mow—Why take the risk of mowing areas that are dangerous to mow, such as slopes or along heavily traveled roads, when you could have a lovely display of native plants instead?
Review Nontoxic Methods for Removing Lawn
Now, let’s take a close look at some ways lawn can be removed without resorting to toxic chemicals. Get ready to hone your lawn-shrinking superpowers. We will review Methods A and B in this article.
- Method A—Block it!
- Method B—Bake it!
- Method C—No-dig it!
- Method D—Let it creep!
- Method E—Let it grow!
- Method F—Stop watering!
- Method G—Dig it!
Shrink the Lawn: METHOD A—Block It!
This low-cost method of converting lawn to garden beds uses cardboard or other blocking materials and mulching materials to smother the lawn. This is a good project any time of the year but avoid doing this on a windy day!
PROs
- No digging is needed unless the soil is compacted.
- Disrupting the soil and its micro life is avoided, unless digging is needed to loosen compacted soil.
- Blocking will kill most lawns.
- Materials that otherwise may end up in a landfill are reused.
- This method is inexpensive or free.
- No harmful chemicals are used.
CONs
- Usually, a full growing season is needed to kill the lawn before the area is ready for planting.
- Lots of blocking and mulching materials must be gathered.
- The area may look unattractive unless you have access to a top layer of attractive mulch.
- Care must be taken when walking on the laid-out materials to avoid injuring toads, lizards, and other creatures that may have taken shelter underneath.
- Rhizomatous grasses and invasives (species with long, string-like runner roots) may be weakened but not killed. A longer blocking period or a supplemental method such as the Dig it! method may be required.
MATERIALS:
 Biodegradable blocking materials: plain cardboard and/or newspaper. Remove any staples, stickers, or tape from the cardboard and avoid wax-coated and color-printed materials (unless you can confirm that the ink is eco-friendly). Old rugs made of natural fibers are a good blocking material for uneven surfaces such as rocky areas or brush piles that are overrun with invasive vines.
NOTE: Non-biodegradable materials such as old plastic, tarps, or synthetic fiber rugs can be used as a blocking material and removed when the area is ready for planting; however, the beneficial interaction between the soil and mulching material is lost.
 Biodegradable mulching materials: wood chips, mulch, leaves, grass clippings, trimmings from your yard, and the like. To get a large quantity of wood chips for free, check out chipdrop.com. For smaller quantities, contact local arborists who often welcome a place to dump their chips.
NOTE: Avoid rubberized mulches. Use commercial mulch only as a last resort after verifying its composition.

Plan and mark the area and shape of the bed. A hose or rope is helpful here. Or mark the perimeter by sprinkling flour or sand.

String trim the weeds. This is optional, but it does help the blocking material to lie flat.

Collect enough blocking material to cover the area without gaps AND enough mulching materials to cover the blocked area 2 to 3 inches deep.

Soak the blocking materials overnight or longer (unless rain is forecast). Don't soak newspaper ahead of time because it clumps together and becomes difficult to separate. (This step is optional.)

Lay out the blocking material, so that pieces overlap and there are no gaps except for spots left open for immediate planting of trees, shrubs, or accent plants (optional). If using newspaper, use sections at least 10 sheets thick and water it in place.

Spread the mulching material over the blocking material to a depth of 2 to 3 inches. Make sure there is a thick enough layer of mulching material to hold down the blocking material in case of heavy winds.

Water the area unless rain is forecast (optional). This helps hold the materials in place but is unnecessary if the layers feel stable.

If spots were left open for trees, shrubs, or accent plants, these can be planted now. Dig as little as possible to avoid damaging the underground network of microorganisms.

Wait one growing season or more until the blocking material has smothered the grass. Plant the bed, digging minimally to avoid soil disturbance. Here an old rug has readied an area for planting.
Shrink the Lawn: METHOD B—Bake It!
Cover an area with clear plastic. This process is called solarization since it uses the sun’s rays to increase the soil temperature. Especially during hot summer months, solarization may kill soil pathogens, nematodes, and weed seeds to a depth of 6 inches as well as most small weeds growing in the area.
PROs
- Minimal labor is required, the sun does most of the work.
- Disrupting the soil and its micro life is avoided, unless digging is needed to loosen compacted soil.
- This method is free.
- No harmful chemicals are used.
CONs
- Full sun is required for this method to be effective.
- Depending upon the vigor of the lawn underneath and the amount of sunlight, this method may take time.
- The plastic looks unattractive in the landscape.
- Unless the plastic is reused and otherwise would have gone to the landfill, this approach should be avoided.
- Heat from solarization may kill beneficial microorganisms, but they will recolonize.
MATERIALS:
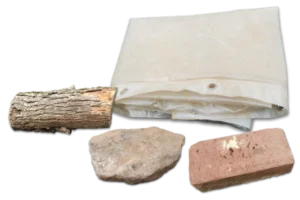
 Used clear plastic that otherwise would go to the landfill, such as old shower curtains or paint drop cloths. Sturdy, clear plastic bags or pieces of bubble wrap can be repurposed by stitching them together to form a large sheet.
NOTE: This method is most effective during sunny, hot weather when the sun's rays are trapped by the clear plastic generating heat that helps kill the lawn. In cooler weather, clear plastic may act as a greenhouse and protect the unwanted plants instead of killing them.
Weights to hold down the plastic, such as stones, bricks, or logs

1–Plan and mark the area and shape of the bed.
2–String trim the weeds.
3–Collect weights and enough used clear plastic to cover the area without gaps (above).

4–Lay out the plastic so that pieces overlap without gaps (above).
5–Secure the plastic with enough stones, bricks, or logs so that it will stay in place even in heavy wind (above).
6–Wait through a growing season or longer until the plants underneath the blocking material are dead.
7–Plant the bed, digging as little as possible to avoid soil disturbance.
This content is an excerpt from Nature's Action Guide by Sarah F. Jayne, shared here with the author’s permission. All rights reserved © 2025 Sarah F. Jayne.
Get the Full Action Guide!
GET STARTED GUIDES: Get Started | Shrink Your Lawn | Remove Invasive Plants | Make a Home for Wildlife | Design a Native Landscape


