

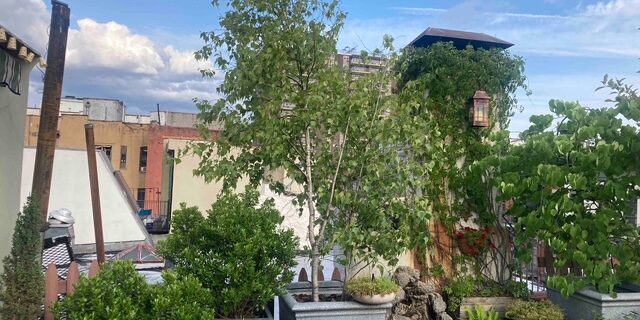
Photo from Christian Cooper | New York, New York
Photo from Christian Cooper | New York, New York
Why it matters
A container garden is any pot, planter, or window box growing native plants, which feed insects far more than the nonnative varieties found at many garden centers.
Even a single container planted with the right species becomes a small but real piece of habitat, a place that gives wildlife food and shelter.
Millions of people, like you, want to help nature but aren't sure a container can really make a difference. And countless balconies, stoops, and fire escapes aren't yet contributing to nature. Containers close that gap. They turn overlooked space into food, shelter, and a place for wildlife to land.
You're not just growing plants. You're growing a food source. A shelter. A tiny ecosystem.
"One container won't solve the biodiversity crisis. But millions of small actions taken by ordinary people absolutely can."
— Krista De Cooke, Biodiversity speaker and educator, HNP Director of Partnerships & Strategy
Who this is for
Container gardening with native plants works for:
- Renters who can't dig up a yard (or want to be able to take their plants with them when they move)
- Apartment and condo dwellers with a balcony, patio, or stoop
- Anyone with limited outdoor space — even a single sunny window ledge
- People with limited mobility who find traditional gardening difficult
- Homeowners who want to extend their garden beyond planting beds
You don't need a yard. You just need a pot, a plant, and a little patience.
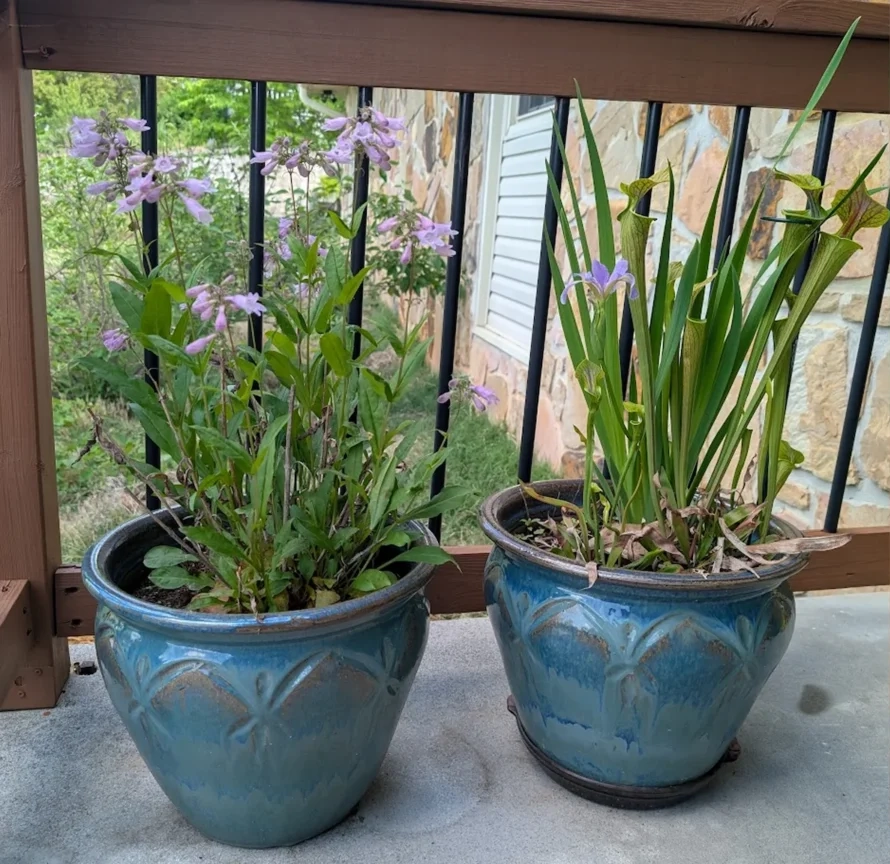
Photo from Krista De Cooke | Knoxville, Tennessee
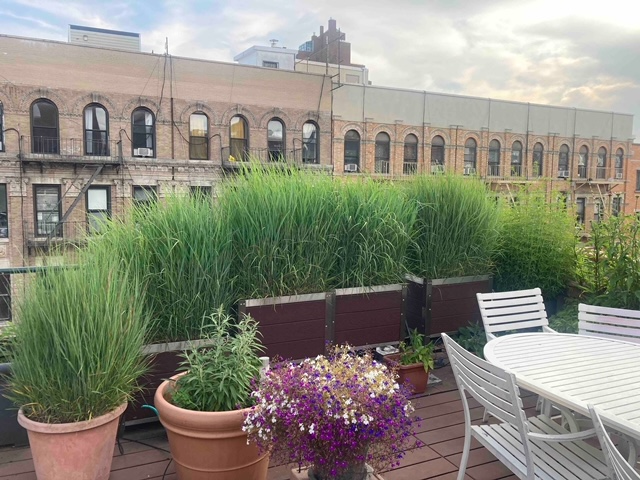
Photo from Christian Cooper | New York, New York
What to expect
Native plants often behave differently from the plants bred to be in full bloom when you buy them. Many spend their first year establishing roots rather than putting on a show above ground.
Some will bloom their first year. Some won't.
When they do bloom, the wildlife shows up faster than you'd expect. Bees, butterflies, and other insects will find even a small cluster of containers. The first time you notice a native bee working a bloom right outside your door, something shifts. These aren't just pots anymore. They're part of the ecosystem.
How to get started
- Start with one pot.
Don't overcommit. Pick one container, one plant, and see what happens. You'll learn more from watching one pot closely than from overwhelming yourself with five. - Match the plant to your light.
Before you choose a plant, observe your space. How many hours of direct sun does it get? A full-sun plant on a shady balcony will struggle. A shade-loving plant on a south-facing rooftop will too. Start with what you actually have.Once you know your light, use our Keystone Plant Guide(opens in new tab) to find native plants for your region that offer the most wildlife benefit. Look for the "container-friendly" tag to narrow it down to species that do well in pots. - Pot Selection:
Go bigger than you think. Most native plants do best in containers that are at least 3–5 gallons. Larger pots hold moisture longer and give roots room to develop. Smaller pots dry out fast and stress plants quickly.For deeper-rooted species like mountain mint, goldenrod, or small trees or shrubs, go with at least 10 gallons.Plastic and glazed ceramic hold moisture better than terracotta. Terracotta works, but you'll water more. Whatever you use, make sure it has drainage holes. - Keep soil simple.
Standard potting mix works well for most native plants. If your plant likes dry conditions, mix in some perlite to improve drainage. If it likes consistent moisture, a mix that retains water is better.Don't overcomplicate this. The goal is to avoid putting a plant that wants to dry out into a pot that stays soggy. - Water less than you think.
Most native plants are adapted to their region's natural rainfall patterns. In many climates, rainfall does most of the work. During droughts or for plants that like consistent moisture, supplement as needed — but you're usually not watering daily.If your container is sheltered by an overhang, awning, or eave, rain may not reach it at all. Those containers need regular watering on their own schedule. Stick a finger an inch or two into the soil to check moisture. Do this a few times over the first couple weeks, and you'll start to learn how quickly that particular pot dries out.The main exception: newly planted containers need more attention until they establish. - Watch what shows up.
This is the part people don't expect. Pay attention to which insects visit. Notice when things bloom. Move a container if a plant isn't thriving in one spot. Container gardening is forgiving — nothing is permanent.
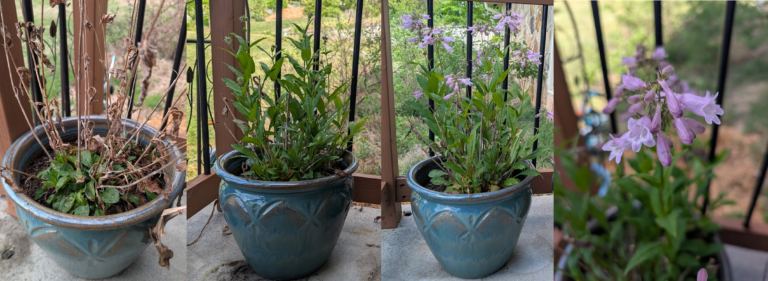
Calico beardtongue (Penstemon calycosus) emerging, growing, and flowering from February through May
Photo from Krista De Cooke | Knoxville, Tennessee
Swap Your Fall Mums for Native Plants
Every fall, millions of mums show up on porches across the country. They're beautiful, but for most of us, they're also temporary decorations — plants bred for color, not for the insects and birds that share our yards. We buy them, enjoy them for a few weeks, and replace them again the next year, having given wildlife little in return.
Native plants can give you that same burst of fall color while doing a whole lot more.
Instead of filling your containers with plants you'll throw away at the end of the season, plant native perennials that can live in those pots for multiple years. They'll come back each spring, hold their shape through the growing season, and provide food and habitat for the insects, birds, and other wildlife that share our yards.
Want the mum look? Try asters
Lots of native plants grow beautifully in containers, but asters are a favorite swap for fall mums. Native aster species grow across most of North America. Most bloom from late summer well into fall, and their masses of daisy-like flowers give you that same colorful, overflowing look that mums provide.
But unlike a pot of decorative mums, asters are also incredibly valuable wildlife plants. They're one of our most high-impact native plants (called a Keystone), supporting an outsized number of native insects while also providing an important source of nectar and pollen late in the growing season.
Bloom timing varies by region and even by specific aster species, so start with our Keystone Plant Guide to find aster varieties that do well in your area. You can also check with a local native plant nursery, or browse My Home Park's container garden collections(opens in new tab) for an easy, ready-to-go option.
The trick: plant ahead
If you want a pot overflowing with aster flowers next fall, don't wait until next fall to plant it. Asters planted in spring or summer may put on a few blooms their first year, but you won't get the kind of full, overflowing basket you're used to from mums. Most of their first-year energy goes into establishing roots, not putting on a show above ground.
Buy aster plugs and plant them in containers this fall or early next spring. You can also grow asters from seed if you want a lower-cost option and don't mind giving them a little more time. Give them a growing season to establish, and by the following fall you can have a container full of flowers that is ready to take the place of those annual mums.
Use a 3- to 5-gallon container for each plant, though larger is even better. Taller and deeper pots give perennial root systems more room to grow and can help keep containers from drying out as quickly.
"What surprised me most wasn't that the plants survived. It was how quickly wildlife found them."
— Krista De Cooke
When plants outgrow their pots
Native perennials can live happily in containers for years. Eventually, some will want more room.
When that happens, you have options:
- Move them to a larger container
- Transplant them into a garden bed or yard, if you have one
- Give them away to someone who can plant them in their yard
When you're ready to transplant: check the root ball. If it's tightly bound at the bottom, trim it before planting. Fall is the best time, since cooler temperatures reduce transplant stress.
Plants that have spent a season or two in containers often establish quickly in the ground. The container years aren't wasted time.
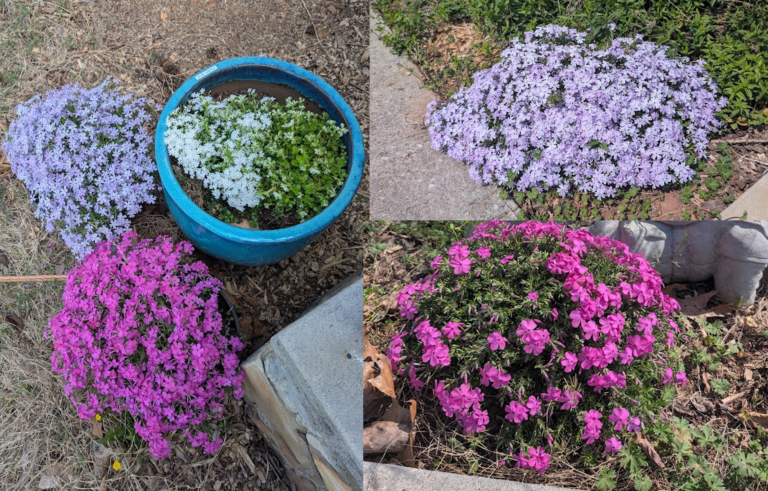
Various phloxes (Phlox spp.) grown in containers for two years before being transplanted into the landscape
Photo from Krista De Cook | Knoxville, Tennessee
Overwintering
Whether your containers survive winter depends on your climate and your plant.
In mild climates (Zone 7+): Many native perennials will overwinter in containers with minimal protection. Leave the stems — they provide shelter for overwintering insects.
In colder climates (Zone 6 and below): Containers are more vulnerable than the ground because roots are exposed to air temperature.
Options:
- Move containers to a sheltered spot (unheated garage, against a south-facing wall)
- Bury the container in the ground for winter
- Bring tender plants indoors to a cool, bright space
- Accept some loss: containers are cheap to replant, and many natives are surprisingly tough
Most native plants actually need a period of winter cold to grow and bloom well, so the goal is protection from extreme cold, not avoiding cold altogether. Skip the heated indoor space.
Don't cut everything back in fall. Hollow stems, seed heads, and leaf litter are winter habitat for insects. Leave what you can until late spring.
You don’t need a lot
Container gardening doesn't have to be expensive. Big decorative pots add up fast — but simple nursery pots work just as well. Facebook Marketplace, Costco, garage sales, estate sales, and secondhand stores are all good sources.
Start with what you have. A single $10 pot from and a locally sourced native plant is all it takes to get started.
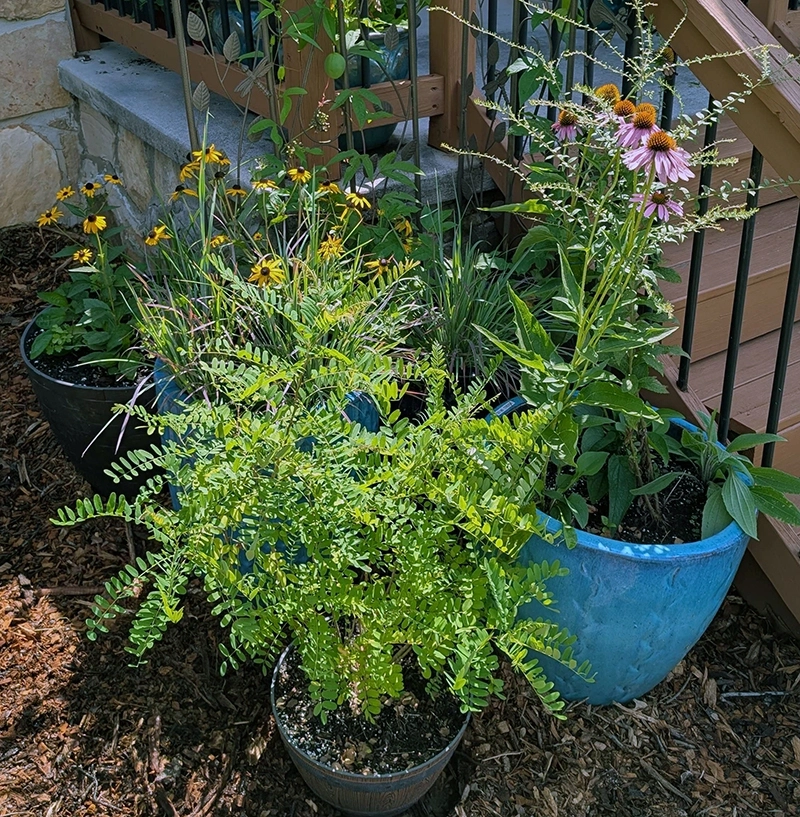
Photo from Krista De Cook | Knoxville, Tennessee
Make your container garden count
Track Your Impact
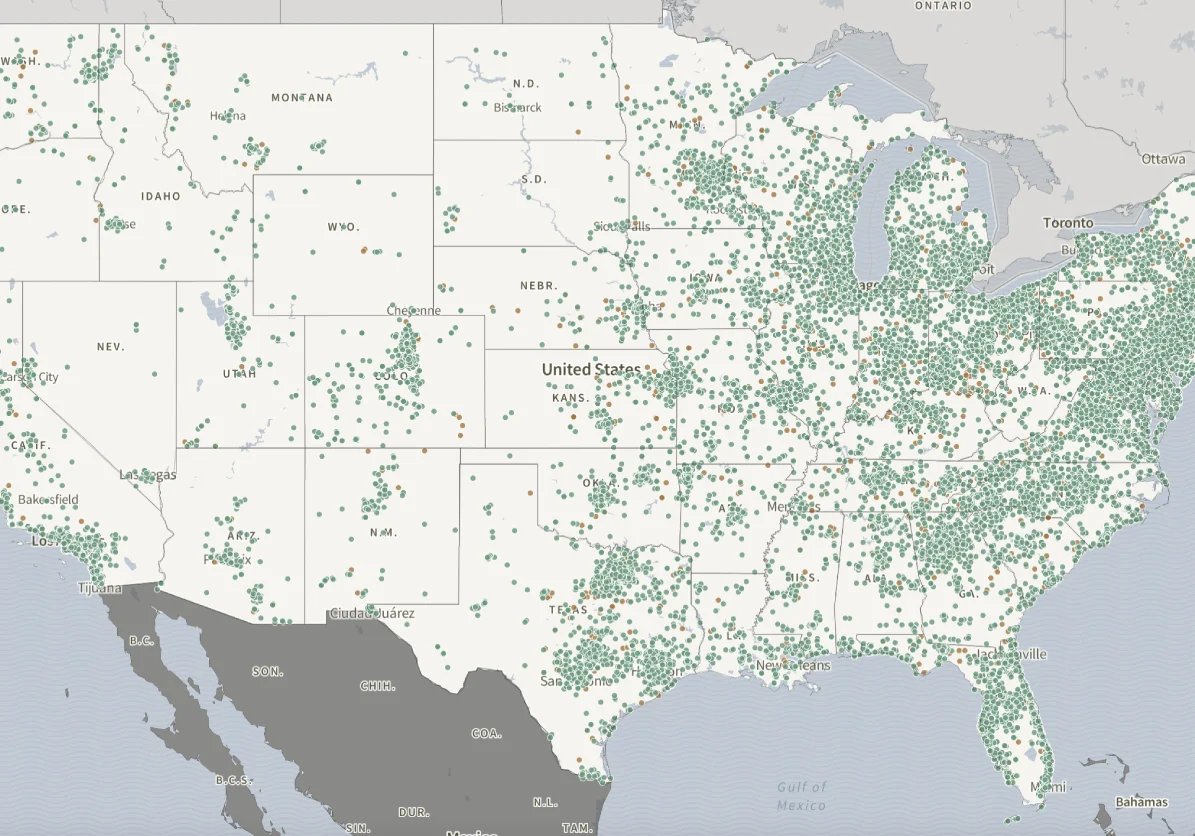
Every container counts. The HNP Biodiversity Map tracks habitat across the country, If you're growing native plants in containers, your space belongs on the Map, alongside thousands of others doing the same.
Already on the Map? You can add your container garden to your existing entry.
Related
Get started planting native
Choose plants that make a difference
Explore the Biodiversity Map
Bring this to your community